
When you’re filming your next vlog or going live, your face isn’t the only thing people see. What’s behind you—or how that background is lit—can make or break the overall visual impact. Using the right background lights for vlogging can transform a flat, boring frame into something dynamic, engaging, and professional-looking.
In this guide, we’ll walk you through why background lighting matters, how to set it up correctly, and which lights to choose depending on your budget and style. Whether you’re a beginner streamer or a seasoned creator, you’ll come away with concrete steps to improve your setup today.
Why Do Background Lights Matter?
Before diving into gear, it helps to understand the role of background lighting and how it affects your viewer’s experience.
-
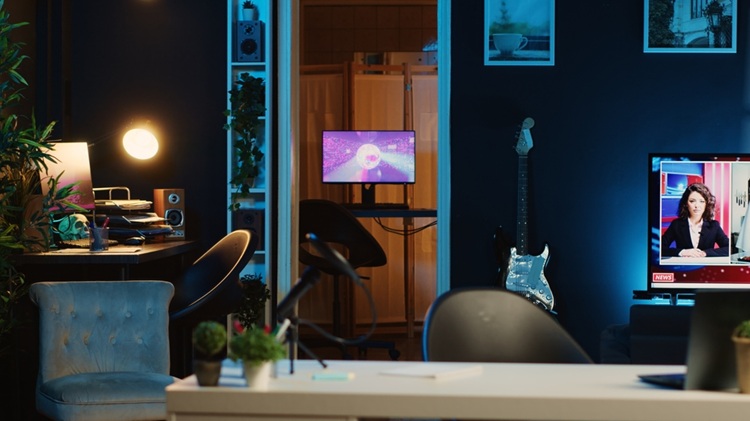
Depth & separation. Without a light behind you, you risk blending into the wall, especially if your wall is dark. A subtle background light “pops” you off the wall visually.
-
Mood and branding. Background lights allow you to express a vibe—warm, cool, colorful, moody, energetic.
-
Visual interest. Plain walls are boring. Color accents, gradients, or lit objects make your stream more inviting and memorable.
-
Eye comfort. A softly lit background (bias lighting) helps reduce contrast between you (bright) and the wall (dark), which can ease the viewer’s eye strain.
So yes—background lights aren’t just decoration. They play a strategic role in how your content reads to your audience.
The Lighting Ecosystem: Key, Fill, Backlight, and Background
To properly use background lights, you’ll want to think in layers—each “layer” has a role. This is a standard approach in video lighting and streaming.
| Layer | Purpose | Typical Position / Notes |
|---|---|---|
| Key Light | Main light to illuminate your face. | ~45° off camera, slightly above eye level. |
| Fill Light | Softens shadows from key light. | Opposite side of key, lower intensity. |
| Backlight / Rim Light | Adds a halo/separation behind you. | Behind and slightly above, aimed at back of head/shoulders. |
| Background / Accent Light | Lights up the scene behind you. | Directed at walls, shelves, or objects behind you. |
When people talk about background lights for vlogging, they generally refer to that last layer—lighting the space behind you to add ambiance, accent, and depth.
Example Flow:
-
Set your key and fill lights so your face is well-lit.
-
Add a backlight to outline your silhouette.
-
Then, place one or more background lights to color or texture the rear part of the room.
Pro Tips Before You Buy
Here are things to keep in mind so your background lighting works well in practice.
1. Color Temperature & Matching
If your key lighting is daylight-balanced (around 5600K) and your background light is a warm 3200K, you’ll see mismatched tones unless that contrast is intentional. Many kits offer adjustable color temperature so you can match or contrast tastefully.
2. Light Intensity / Brightness Control
Background lights should generally be dimmer than your key light. If your background light is too strong, it will compete with you for attention. Always choose lights that allow dimming or brightness adjustment.
3. Spread / Beam Angle
A wide beam is good for softly washing a wall; a narrower beam is good for spotlighting an object or accent. If you want flexibility, look for lights with adjustable beam angles or included modifiers.
4. Diffusion / Softness
Hard spots are distracting. Use diffusers, frosted panels, or bounce the light off a wall for a more even effect.
5. Avoid Flicker & PWM
Cheaper LED lights sometimes flicker or use PWM (pulse-width modulation), which can show up on camera. Always test before committing. Many pro lights are rated flicker-free.
6. Placement & Angles
-
Aim the light onto your wall, shelf, or object—not aimed directly at your camera lens.
-
Keep lights low or off the side to avoid flare or lens reflections.
-
Use gels or RGB settings to shift color.
Types of Background Lights You Can Use (Beginner-Friendly)
If you’re just starting with vlogging or streaming, choosing the right background lights can feel confusing — but it doesn’t have to be. Below are the most popular types of background lights for vlogging, what makes each type great, and examples that are available globally (from brands like Neewer, Ulanzi, and Elgato that ship almost anywhere).
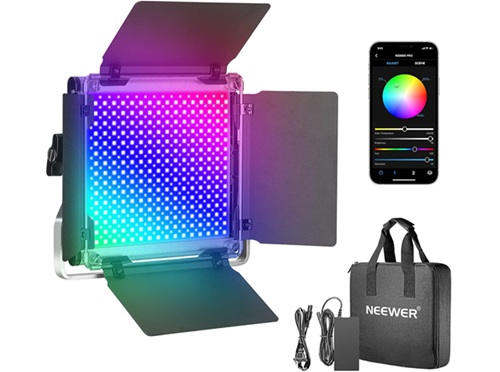
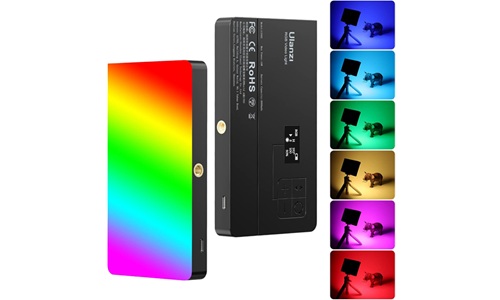
1. RGB LED Light Panels
Best for: Creating colorful, professional-looking backgrounds.
RGB light panels let you change colors, adjust brightness, and even add fun effects (like fading or flashing). They’re perfect if you want to make your wall glow with soft color or highlight a specific area behind you.
Why you’ll love them:
-
You can pick any color to match your vibe or brand.
-
They’re easy to set up and mount.
-
Most have brightness and color temperature controls.
Popular Global Options:
1. Neewer 660 Pro RGB LED Light — Great for medium to large rooms; bright, durable, and easy to adjust.
2. Elgato Key Light Air — Sleek and app-controlled, perfect for creators who want a polished look.
Ulanzi LT002 RGB Panel Light — Compact and portable; great for small setups or travel vloggers.
Where to Buy: Amazon, B&H Photo, Elgato official store, or Neewer Global.
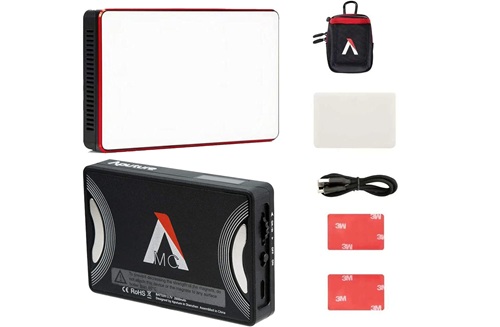
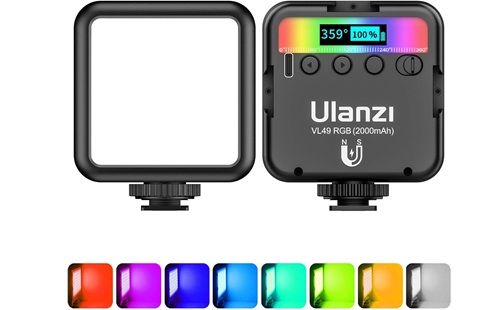
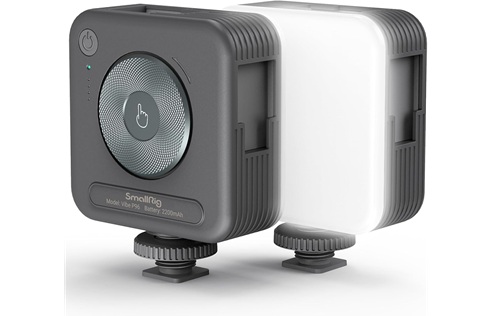
2. Mini or Pocket RGB Lights
Best for: Small spaces, accent lighting, or adding creative pops of color.
These tiny lights pack a lot of punch. You can hide them behind objects, place them on a shelf, or use them to light up plants, artwork, or background props. Many are rechargeable via USB and easy to move around.
Why you’ll love them:
-
Super portable and lightweight.
-
Great for adding colored highlights.
-
Affordable and beginner-friendly.
Popular Options:
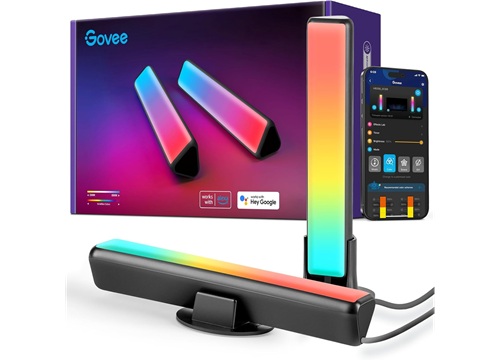
1. Aputure Amaran MC RGB Light — One of the most-loved mini RGB lights among YouTubers.
2. Ulanzi VL49 RGB Mini Light — Budget-friendly, magnetic back, and perfect for desktop setups.
3. SmallRig P96 RGB Light — Bright, compact, and adjustable; works great as a secondary accent light.
Where to Buy: Amazon, AliExpress, or Camera accessory stores worldwide.
3. LED Light Tubes or Light Bars
Best for: Adding modern, cinematic glow to your background.
Light tubes or bars are long, stick-like lights that create a smooth, even color across your wall or room. They look amazing behind your chair, near a wall edge, or vertically placed in the frame for a futuristic look.
Why you’ll love them:
-
Soft, even light that fills up your space beautifully.
-
Many support RGB color modes and mobile app control.
-
Great for dramatic, “studio-style” lighting.
Popular Options:
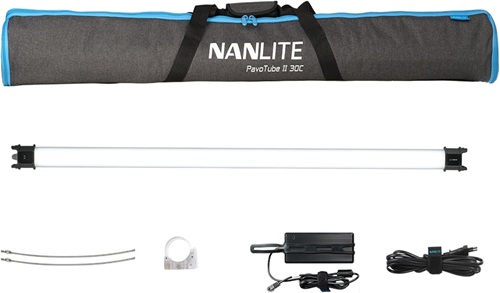
1. Nanlite PavoTube 15C / 30C — Professional-grade RGB tube lights that work for any setup.
2. Govee RGBIC Light Bars — Easy to install, app-controlled, and affordable.
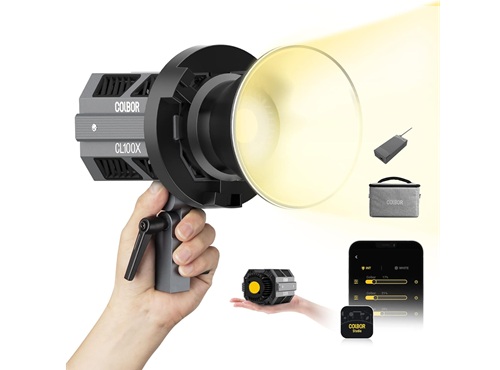
3. Colbor CL100X Tube Light — Compact, USB-powered, and great for home vlog studios.
🛒 Where to Buy: Amazon, B&H Photo, Nanlite Global, or Govee’s website.
4. LED Strip Lights
Best for: Adding a subtle glow around walls, desks, or furniture.
If you want a low-cost way to make your background more interesting, LED strips are perfect. Stick them behind your desk, monitor, or along the wall to create colorful gradients and depth. They’re flexible and usually come with remotes or phone apps.
Why you’ll love them:
-
Super affordable and easy to install.
-
Instantly makes your setup more stylish.
-
Customizable colors and brightness.
Popular Options:
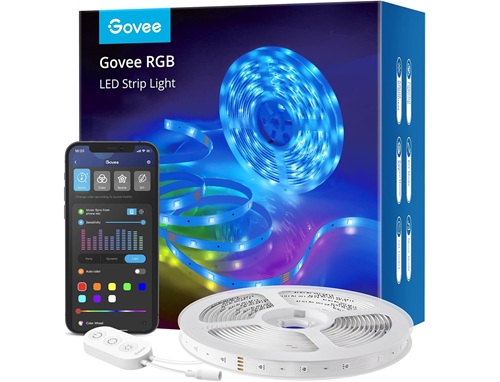
1. Govee Smart LED Strip Lights — Easy to install, app-controlled, and compatible with Alexa/Google.
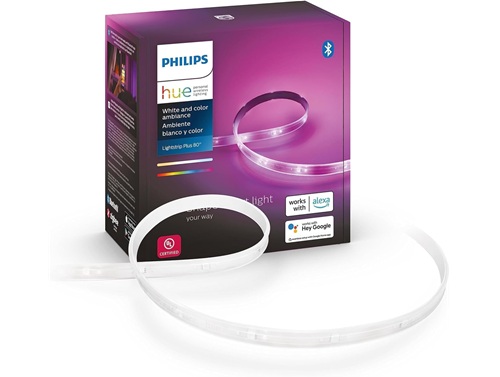
2. Philips Hue Lightstrip Plus — High-quality, reliable, and integrates with smart home systems.
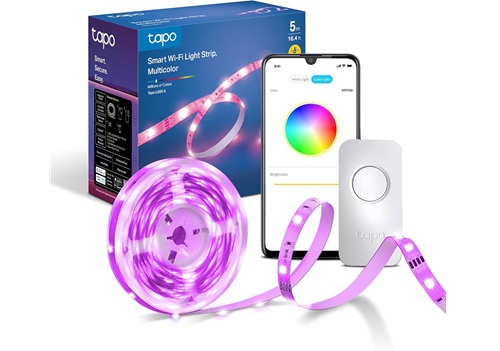
3. Tapo L900-5 Smart Strip Light — Budget-friendly with simple app control.
🛒 Where to Buy: Amazon, Best Buy, or most major electronics stores worldwide.
5. Smart Ambient Lights or Lamps
Best for: Mood lighting and quick background enhancement.
Smart lamps or ambient lights are plug-and-play devices that instantly change the tone of your space. You can control them with your phone, voice assistant, or remote. They’re ideal for anyone who wants zero setup hassle.
Why you’ll love them:
-
Simple to use — no camera or lighting experience required.
-
Work great in bedrooms or casual vlogging spaces.
-
Many can sync with your voice or music.
Popular Options:
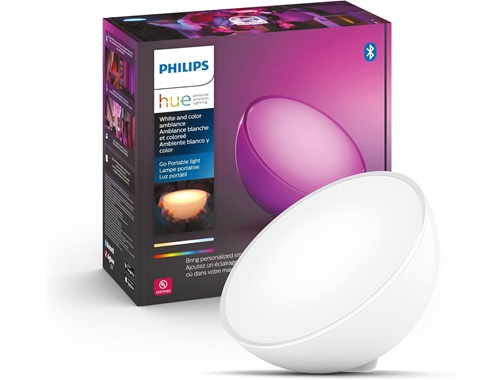
1. Philips Hue Go Portable Light — Smart, rechargeable, and versatile for anywhere lighting.
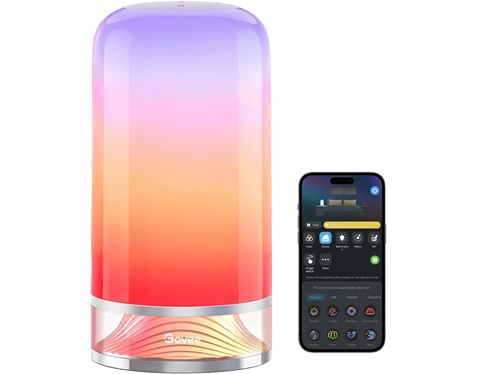
2. Govee Aura Smart Table Lamp — Compact, customizable colors, and fun effects.
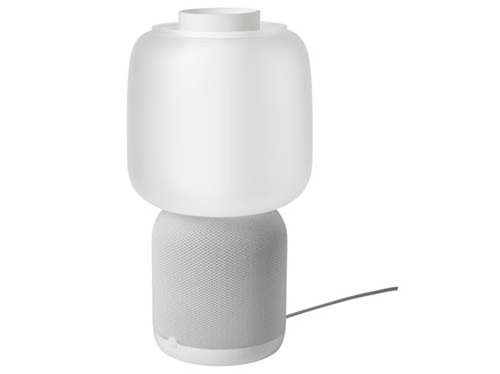
3. IKEA SYMFONISK Lamp with Wi-Fi Speaker — Aesthetic lamp that doubles as a light and speaker.
Where to Buy: Amazon, IKEA, Philips Hue store, or Govee official site.
How to Design Your Background Lighting Setup: Step-by-Step
Here’s a practical roadmap to build a great background-lit setup.
Step 1: Plan your background elements
Decide what parts of the background you want lit:
-
A wall, an accent wall, or a shelf.
-
Props or objects (plants, books, figurines) that can act as focal points.
-
Patterns or textures (wood, brick, fabric) that light can emphasize.
Step 2: Set up your key and fill lights
Make sure your face is properly lit before worrying about the background. A poorly exposed foreground will ruin everything.
Step 3: Position your background lights
-
Place one or more lights behind or to the side, directed at the background.
-
Distance from the wall matters: closer gives stronger color; farther gives softer wash.
-
Test angles so that the light doesn’t flare into your lens.
Step 4: Choose color vs neutrality
You can use:
-
White / neutral tones for an elegant, unobtrusive look.
-
Colored lights (RGB or gels) to evoke mood or brand. Many streamers use cool blues, magenta, or accent colors tied to their aesthetic.
-
Gradients / fades — some lights support programmable fades or color transitions.
Step 5: Balance brightness
The background should not overpower you. A good rule is: background lighting ≤ 50–70% of your key light intensity. Adjust until it supports your image, not competes.
Step 6: Do camera tests and adjust
-
Record or livestream test clips.
-
Look for hotspots, shadows, and lens flares.
-
Tweak placement, intensity, or diffusion until it looks clean.
Step 7: Save settings / automate
If your lights support scenes or presets, store a preferred setup so you can quickly restore it each session.
Real-Life Use Cases & Examples
Case Study: Gamer Stream Setup
A Twitch streamer used strips of RGB LED along shelves and behind monitors to give a “halo effect.” He paired that with soft white key lighting and a mild rim light behind his chair. The result: more depth and fewer “floating head” visuals.
Case Study: Beauty / Make-up YouTuber
A creator used a soft pastel wall, lit with two RGB panels: one slightly warm, one cooler. The mix created a dreamy bokeh effect behind her. Because her key light was bright and even, the background didn’t compete.
Anecdote from Community
“I use an Elgato Key Light Air (5600K, about 50% brightness) to light up my face and an RGB tube light to separate me a bit better from the background.”
From Reddit: a streamer balanced his face lighting with ambient separation behind.
Common Mistakes & Pitfalls (to Avoid)
-
Making the background too strong. The audience should look at you first—not your wall.
-
Mismatched color temperatures. Mixing warm and cool lights without intention leads to odd skin tones.
-
Hard direct light without diffusion. This causes flares, hotspots, and distractions.
-
Ignoring flicker / PWM. Cheap lights may flicker on camera. Always test.
-
Cluttered or distracting background content. Even with good lighting, clutter kills focus.
-
No brightness control. Being stuck at one brightness means you can’t adapt to ambient changes (e.g. daylight).
-
Placing light too close to the camera. That can cause lens reflections or weird glare. Many advise placing background lights off to the side or behind.
Seasonal, Lifestyle & Contextual Considerations
-
Daylight vs Night: If you stream in daylight, your background light may need to compete with the sun. Use brighter backgrounds or more contrast. In nighttime / closed rooms, you have more artistic freedom.
-
Room color/wall texture: Dark walls absorb light—you’ll need stronger or closer lights. Light or pastel walls reflect more softly.
-
Props & seasonal decor: During holidays or themed events, you can swap in colored background lights (e.g. red/green for Christmas) for seasonal flair.
-
Mobility & portability: If you’re a mobile vlogger and change locations, favor compact RGB panels with battery packs.
-
Energy/heat: LED lights are preferred over traditional bulbs because they generate less heat and use less power—great for long streams.
FAQs (Frequently Asked Questions)
Q: Do I need RGB lights for my background?
Not necessarily. You can use white or neutral lights for a clean look. RGB is just a creative tool—it helps with mood and branding, but isn’t mandatory.
Q: How many background lights do I need?
Often, 1 or 2 are enough: one to wash the wall, another to accent a shelf or object. Larger studios may use 3–4.
Q: What’s the ideal distance from the wall?
It depends on your beam angle and desired effect, but starting at 1–2 ft from the wall is good. Move it and test.
Q: My background is dark; do I need super bright lights?
Yes, darker surfaces require more output to show color. Use brighter lights or place lights closer.
Q: Can I use fairy lights/string lights?
Yes, as decorative accent lighting—not as your main background light. They’re good for subtle ambiance.
Q: How do I prevent lens flare?
Use flags, barn doors, or position lights just out of frame. Avoid direct light hitting the lens.
Summary of Best Practices
-
Think of lighting in layers: key, fill, backlight, background.
-
Let background lights enhance—not overpower—you as the subject.
-
Use adjustable, flicker-free LED lights with color temperature control.
-
Test thoroughly with your camera before going live.
-
Use background lighting to express mood, style, and brand identity.
Light Up Your Streams
To get the best results with background lights for vlogging, treat them not as mere decoration but as a strategic layer in your lighting design. Use them to add depth, separation, and visual character to your frame—while always ensuring your primary focus (you) remains dominant. By choosing adjustable, quality LED lights and thoughtfully placing them in your scene, you can dramatically elevate the polish and mood of your content.
Start small: set up your key/fill lights first, then experiment with one background light directed at a textured wall or shelf. Test angles, dim intensities, and color options. Over time, you’ll refine a signature look that supports your personal brand and content style. The right background lighting makes your videos not just clearer, but more captivating.